SHOOTING THE GRAND VISTA

With so much potential for perfect weather conditions, amazing sunrises and sunsets Jamaica is a great country for photographing grand vistas. Yet I would recommend thinking beyond those misty dawns and dramatic sunsets. Undoubtedly both are fantastic options, however there are images to be had at any time of day and in any location. Additionally, grand vistas do not mean you need to use a wide angle lens. The truth is, many classic vistas can benefit from a slightly different perspective using a telephoto lens.

Pick out areas where there is potential for bands of color. These can create striking images of the landscape. With so many different tree species, there are always patterns to be found in mixed woodland. Some trees may be bare, while some will have leaves displaying various hues, with evergreen trees in between. On top of that, you may find layers of color within the landscape with a combination of grazing fields, harvested fields and ridges covered in bracken and grasses. Of course the ambient light will also play its part, with patches of light and shade adding further contrast.

If you are visiting a hilly or mountainous area like Blue Mountains, and there's a forecast of some mist or an inversion, get to a high vantage point early in the morning. Mist is a wonderful element to warm tropical colors and introduces added depth to a scene. That being said, mist or no mist, being high up has many other compositional advantages, allowing you to zoom in on an isolated tree, patch of forest, a small community or even a local church. Again, look for contrast in color to counterbalance the warmer hues with cooler greens and blues.

But it’s not all about trees; hills, fields, marshes and plains can take on beautifully soft and gentle colors. Faded greens, golden hues, rich reds can all help when creating a picture in a seemingly unremarkable landscape. For such scenes soft light can work really well, but mixed weather conditions with partial cloud can also add interest and depth, with light and shade creating patterns on the landscape.

Coastal locations, may favorite are also very rewarding, with changeable and often stormy weather conditions giving rise to some powerful skies and dramatic seas. The play of light on the surface of the water can add depth to an image. If the sea is calm, try using it as a compositional anchor, and devote most of the frame to the sky. Always study your tide timetables and look for areas where there is a sandy beach or an estuary where both sand and water can reflect the light and color of dramatic skies.


_MG_4301-Edit.jpg

In the above image, A misty sunrise, an elevated viewpoint, forests and mountains offer perfect ingredients for an great landscape picture.

Pro Tips: Consider using a very shallow depth of field to draw the viewers attention to foreground features, rendering the wider landscape put of focus, as demonstrated in the image here.


7 Tips to Capture Super Sharp Landscape Photos

  1. Use a Sturdy Tripod.

  2. Use Manual Focus
    Focus Manually With the Live View Setting on your camera. To do this you’ll first need to switch off the auto focus setting on your lens. Next you’ll switch to Live View. Once you’ve done this use the magnifier box in the screen to punch in on the subject at the furthest distance. Then slowly turn the focus ring on your lens until that subject or object is pin sharp.

  3. Shoot Using Your 2-Second Timer
    Use the 2-Second Timer setting on your camera to minimize any possibility of camera shake caused by vibration when you press the shutter. If you’ve got a shutter release cable you can use this instead.

  4. Enable Your Mirror Lock Up Feature
    If you’re using a DSLR use the Mirror Lock Up feature to prevent any possibility of vibration which can occur when the mirror flips up into position as you take the exposure.

  5. Use the Lens Best Aperture Setting
    Find that Sweet Spot Aperture value of your lens. Most lenses will generally have an aperture value which will guarantee maximum sharpness throughout your image from foreground to background. This is usually between f/8 and f/11.

  6. Focus at infinity.
    There are several theories how to achieve maximum sharpness by using techniques such as calculating Hyper-Focal Distance. However I have found that by simply focusing at infinity I’ve been able to achieve maximum front to back sharpness throughout the scene.

  7. Turn of Image Stabilization
    Switch of your lens Image Stabilization or Vibration Reduction. If your lens has any Image Stabilization or Vibration Reduction you’ll want to switch that off. Unless you’re shooting hand held using any Image Stabilization feature can result in a soft image due to the lens correcting for camera movement when it’s already on a tripod.

    Bonus Tip to greatly improve your image quality.
    Use the lowest ISO setting.

DAYTIME LONG EXPOSURE PHOTOGRAPHY

Give your daytime shots a twist with a long exposure.

Using a longer exposure means that moving objects such as clouds and water can take on a magical feel.


I will agree the thought may seem absurd. Why would you ever want to use a longer exposure during the day given the abundance of ambient light perfect for using those high shutter speeds and a less chance of motion blur? Well, it's for ... want of a better expression, 'an artistic choice'. When you look at an image taken during the daytime some of the things you'll first notice is how sharp it is, free from camera shake, and how much everything is frozen in place.

Now if that's the look you're going for then that's fine, but lets consider how the world changes when you try taking an image at night. Have you ever noticed how much things are a bit more surreal at night when your shutter speed drops to seconds or even minutes to make an exposure. Those longer exposure times mean that moving objects such as clouds, water, people or cars taken on a magical feel. Including some of that feel to your daytime shot can not only be fun but can elevate your image from a standard capture to something wildly creative and engaging to the viewer.

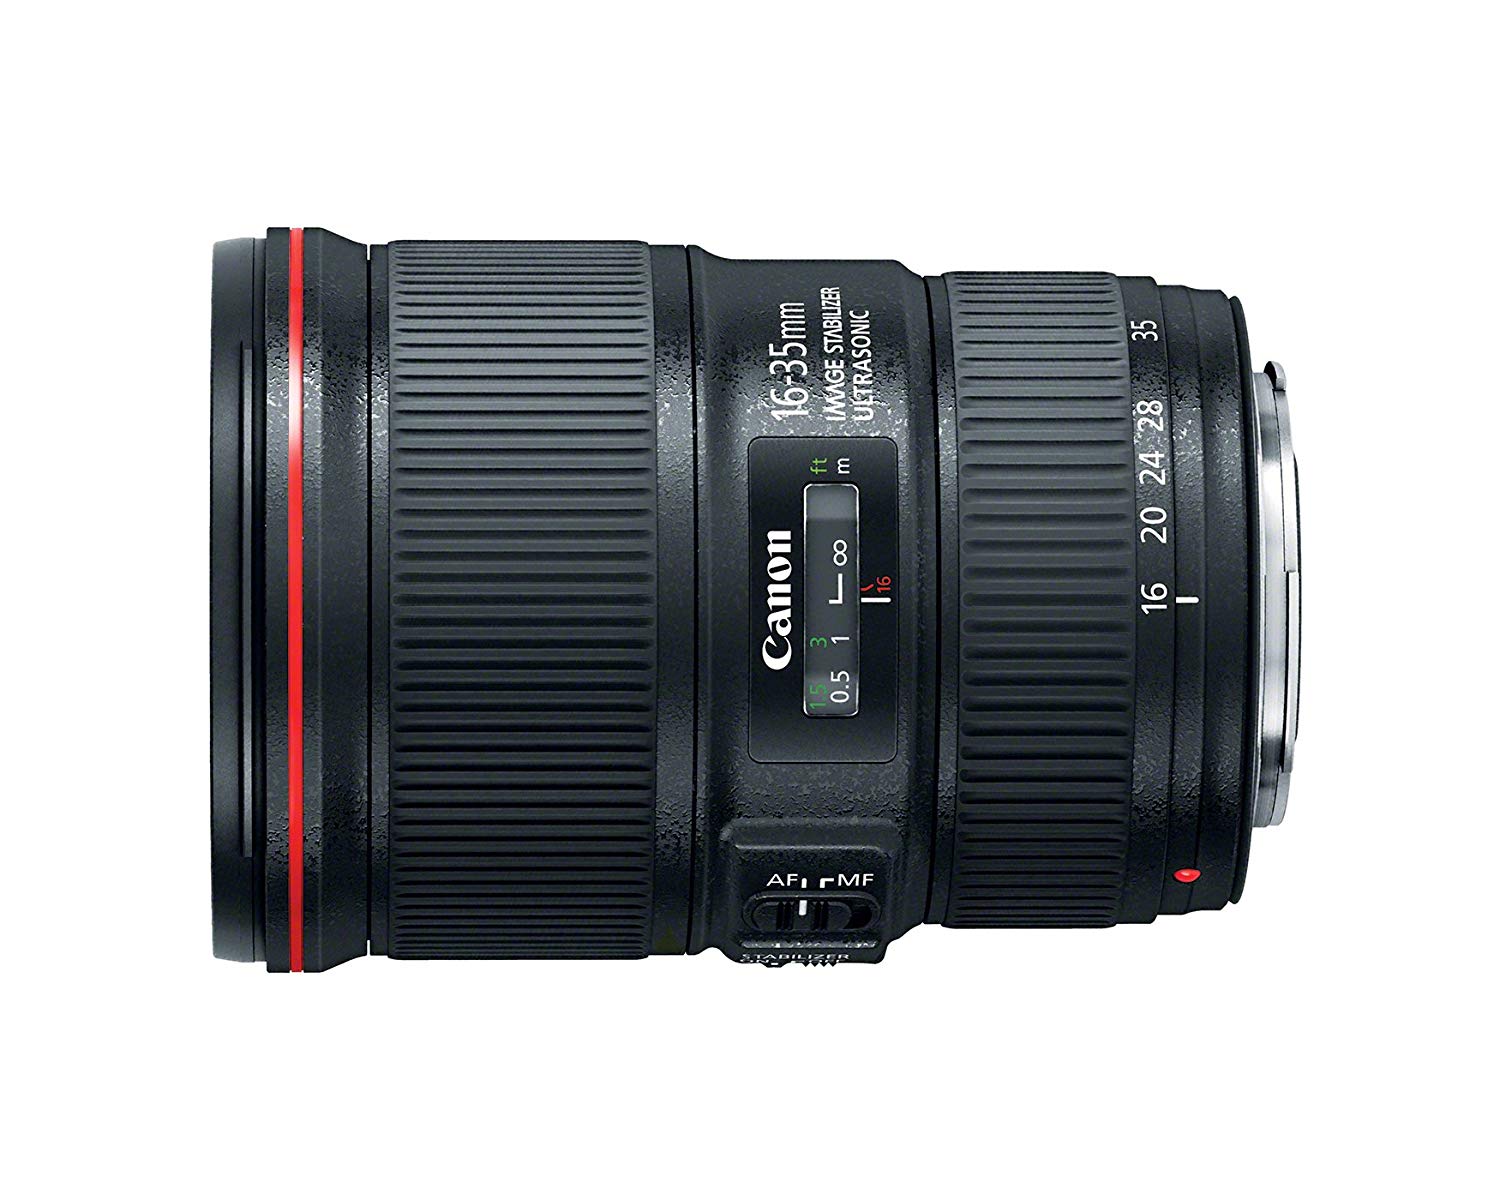
So how do you take control of the daylight to achieve the shutter speeds required for this effect? Well, you'll need a few pieces of kit. It goes without saying that first you'll need your camera and your favorite lens. For this kind of work as a Canon shooter I use a Canon EF-S 10-22mm F3.5-4.5 USM or a Canon EF 17-40mm f/4.0L USM. However if you've got a full frame camera then a Canon EF 16-35mm F4L IS USM / Canon EF 24-70mm F4L IS USM is also a great setup.

Because you're dealing with deliberately long exposures there is no question you're going to need a tripod to keep your camera perfectly still. The shutter speeds you may encounter will require that you use a remote shutter release or setting your camera to a 2 second timer mode to avoid any camera movement. Last and certainly not least is a neutral density filter. Without this bit of kit, the long exposures you require just can't happen.

A neutral density filter is simply put, sunglasses for your camera lens. It filters out a certain amount of light that passes through your lens to your camera sensor. Much like the glass you'll see in a welder's mask which I will say some photographers have actually used as an ND filter.

The Canon EF 24-70mm F4L IS USM is a great lens for most shooting conditions. However If you find you need a wider field of view then something in the Canon EF 16-35mm F4L IS USM or APS-C Canon EF-S 10-22mm F3.5-4.5 USM shown below is what you'll need.

Canon EF 24-70mm f/4.0L IS USM Standard Zoom Lens


Canon EF 16-35mm f/4L IS USM Lens

Canon EF-S 10-22mm f/3.5-4.5 USM SLR Lens


Manufactures like Lee, Cokin and Formatt Hitech offer a wide range of rectangular filters and filter holders.

Lee Filters 100mm Big Stopper 3.0 Neutral Density Filter (10-stops)

LEE Filters 100 x 100mm Little Stopper 1.8 Neutral Density Filter


Screw in filters can be cheaper however by going that route you'll be restricted to buying ones that will fit the diameter of each lens you're using.

Breakthrough Photography 95mm X4 10-Stop ND Filter


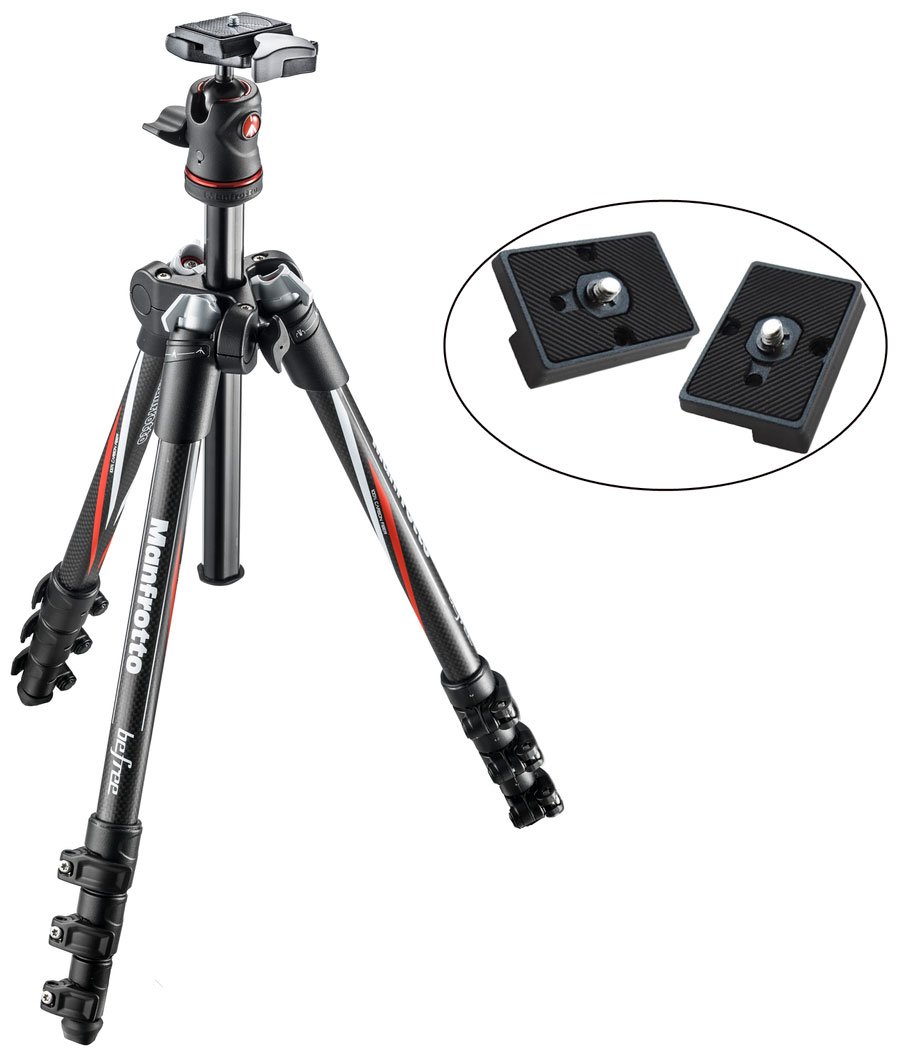
A sturdy tripod is essential for long exposure photography to avoid any possibility of camera shake.

Manfrotto Befree Advanced


A good cable release or one of the more advanced intravalometers often used for creating time lapses is also a useful tool to control your camera remotely when shooting longer exposures.

Neewer Timer Remote


There are many types of ND filters. There are the versions that are flat rectangular pieces of plastic/glass that slide into place within a holder that screw to the front of your lens via an adapter ring. Then there are the circular screw-on types of various sizes for different lenses.

Essentially, they also come in a range of optical densities. A standard ND2 (1-stop) filter will only let in 50 percent of available light, whereas a ND4 (2-stop) filter will only let in 25 percent, an ND8 (3-stop) lets in 12.5 percent, while a ND16 (4-stop) filter blocks out 25percent and so on. For long exposures during the daylight you'll typically need a ND1024 filter otherwise known as a 10-stop filter which allows 0.098 percent of available light to enter the lens and reach the sensor.

As you would have guessed cost for these filters vary too. A 10-stop filter by Lee, for example is in the range of $129 but you will also need to purchase the filter holder kit as well for about $100. A single screw-in type filter, depending in the lens size that it has to fit can cost as much as up to $229. These filters can be quite pricey but they are worth their weight in gold.

So do you just screw on your filter and point your camera at the scene you want to capture an that's it? Well not exactly. For starters if you look through your viewfinder or if you prefer Live-View with the filter on then you're not going to see much. In fact you'll be pretty much staring at black image. Metering a scene with your 10-stop filter attached will cause some problems too. The best method is to work out your composition and expose for the scene before you attach your filter to the lens.

Start by composing the scene how you want it, with the ISO, aperture setting and shutter speed required dialed in for the final shot. Then make a test exposure and check your histogram to ensure the image isn't overexposed. At this point you'll want to make a note of the shutter-speed without your 10-stop filter attached.

Now there's a bit of calculation here but nothing you'll need to worry about. Let's say after setting up your scene your camera's exposure meter is telling you that using an ISO of 100 and aperture of f/11 you need a shutter-speed of 1/15 of a second to gain the technically correct exposure. You now have to slow your shutter-speed down by 10-stops. This means by adding our 10-stop filter our shutter-speed now has to be altered to 60 seconds to achieve the correct exposure.

If you're like me and not much of a math whiz, there are several apps for your iOS or Android phone that can easily calculate the correct setting according to the density of the filter used. Check out the Lee Filters Exposure app or NiSi Filters Australia.

One thing to be aware of when using a ND filter is the color cast. Even the most optically perfect ND filter can suffer from some form of color shift when using a 6-stop or higher filter. The most common issue I've experienced a magenta color cast caused by infrared light still passing through the filter. For the best results you should always shoot in RAW mode and at your camera's lowest ISO setting.

As always, experimentation with various shutter-speeds is key. Be on the lookout for some familiar daytime moving objects (cars, bicycles, clouds, water, or people) that could look quite surreal if captured with a long shutter-speed. This exposure technique has been employed by many professionals to magically empty city landscapes filled with cars and people by using very strong ND filters. Now that you know it's up to you and your imagination to take control of your creativity and give your daytime shots a twist with some long exposures.